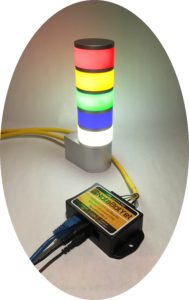
 If you are anything like us here at NotaBotYet, then you think the Litt Signaling Device from Yellowtec is one of the coolest things to come out of Germany since the Mercedes (or if you prefer… BMW, Volkswagen, or Oktoberfest). Finally, studios could get rid of their Radio Shack phone strobes and crazy modified industrial indicators that made the studio look more like a factory floor than a cool place where the hits were being played.
The Litt signals are controlled by a positive voltage input control that requires very little signalling current. If you have an existing radio plant from the 1990s with complex relay logic all over the place anyway, then this is no big deal.
But, what if you just did that awesome new studio remodel and went with an IP solution like Axia Livewire or Wheatstone Wheatnet-IP? The GPIO outputs of these devices are more suited for a closure to ground than they are at providing voltage. WheatnetIP devices have a convenient RJ-45 connector for Logic I/O and Axia has a 15-pin d-Sub connector for its GPIO. The Litt device is best wired using custom 8-conductor Litt cable that does not fit an RJ45 and cannot simply be soldered to the D-Sub connector. Sure, you can dig out some of that old relay switching stuff you stuck out at the transmitter site ten years ago and spend hours making it work just right. Or, you can do it the fast and easy way by using the Litt Interface from NotaBotYet.
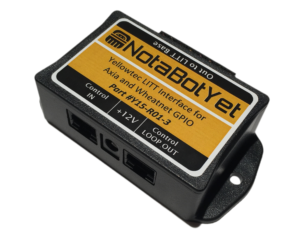
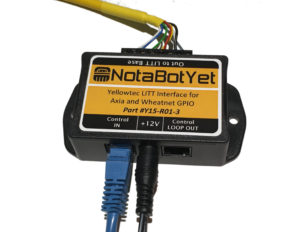
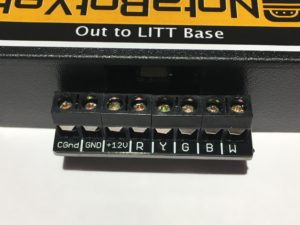
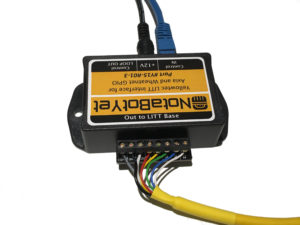
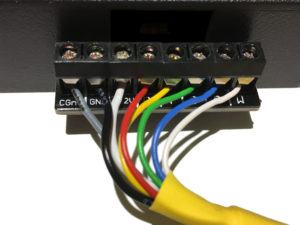
To make things fast and easy (our number one goal here at NotaBotYet), we have provided a screw terminal output labeled identically to the Litt base controller. The 8-Conductor Litt cable from Yellowtec fits this terminal perfectly. This device could be placed relatively close to the Litt device allowing the rest of the wiring in the plant to be run using Category 5/5e/6 cabling. The Litt interface allows you to use your favorite +12 volt power source to power the Litt device and can be inserted using a standard 2.1mm DC barrel jack or on the internal screw terminal strip. A Litt Signaling Device could be installed and working in a matter of minutes without any soldering or time spent creating a new “science project” to make it work.
What about that RJ-45? Simple, take your favorite Cat5/5e/6 cable and connect the Litt interface directly to the logic I/O port of any Wheatnet-IP blade, or to any Axia GPIO port using our Axia GPIO Breakout Board (Part # A15-B01-2). Check out the application notes for more details. If you aren’t using all 5 colors of the LITT and want to use those control bits for something else, the passive loopout lets you run those bits elsewhere without even cutting into a cable.
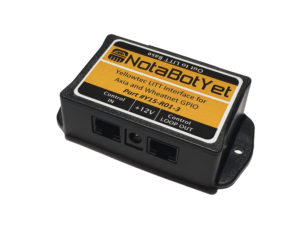
The board is packaged similarly to an RJ-45 surface jack. This takes up a minimum of space in the broadcast plant and allows the end user to employ a variety of mounting schemes based on their needs. To access the screw terminal outputs, simply snap off the top cover by squeezing in on the sides and pulling straight off. To replace the cover, simply snap back on. The jack can be mounted using the included double sided foam tape or, once open, using the supplied wood screws to mount to a wall or board. Other types of screws and mounting may be used as well, per the creativity of the end user.
Instruction Sheet |
Part # Y15-R01-3 | |
 |
 |
 |
 |
 |
 |
